'%20x='0'%20y='0'%20height='100%25'%20width='100%25'%20%0A%20%20%20%20%20%20%20%20%20%20xlink%3Ahref='data:image/jpg;base64,/9j/2wBDAAYEBQYFBAYGBQYHBwYIChAKCgkJChQODwwQFxQYGBcUFhYaHSUfGhsjHBYWICwgIyYnKSopGR8tMC0oMCUoKSj/2wBDAQcHBwoIChMKChMoGhYaKCgoKCgoKCgoKCgoKCgoKCgoKCgoKCgoKCgoKCgoKCgoKCgoKCgoKCgoKCgoKCgoKCj/wgARCAAGAAoDASIAAhEBAxEB/8QAFgABAQEAAAAAAAAAAAAAAAAAAAUH/8QAFAEBAAAAAAAAAAAAAAAAAAAAAv/aAAwDAQACEAMQAAAAyeaB/wD/xAAeEAACAQMFAAAAAAAAAAAAAAABAwQAAhEFJVGh0f/aAAgBAQABPwCffHTHU+RDS5YtIFhzyBRlaZk7Wrv2v//EABYRAQEBAAAAAAAAAAAAAAAAAAEAAv/aAAgBAgEBPwAyX//EABQRAQAAAAAAAAAAAAAAAAAAAAD/2gAIAQMBAT8Af//Z'%3E%3C/image%3E%3C/svg%3E)
Once again, Claptrap has returned with all of his usual shenanigans in Borderlands 4, usually dragging you into some crazy, absurd, and hazardous adventures. No Place Like Home is one of his quests where you must acquire some mementos while blasting through Order enemies and helping him deal with leaving Pandora.
This guide will cover every step of the quest, from acquiring it from Claptrap to its explosive ending.
Borderlands 4: No Place Like Home quest guide
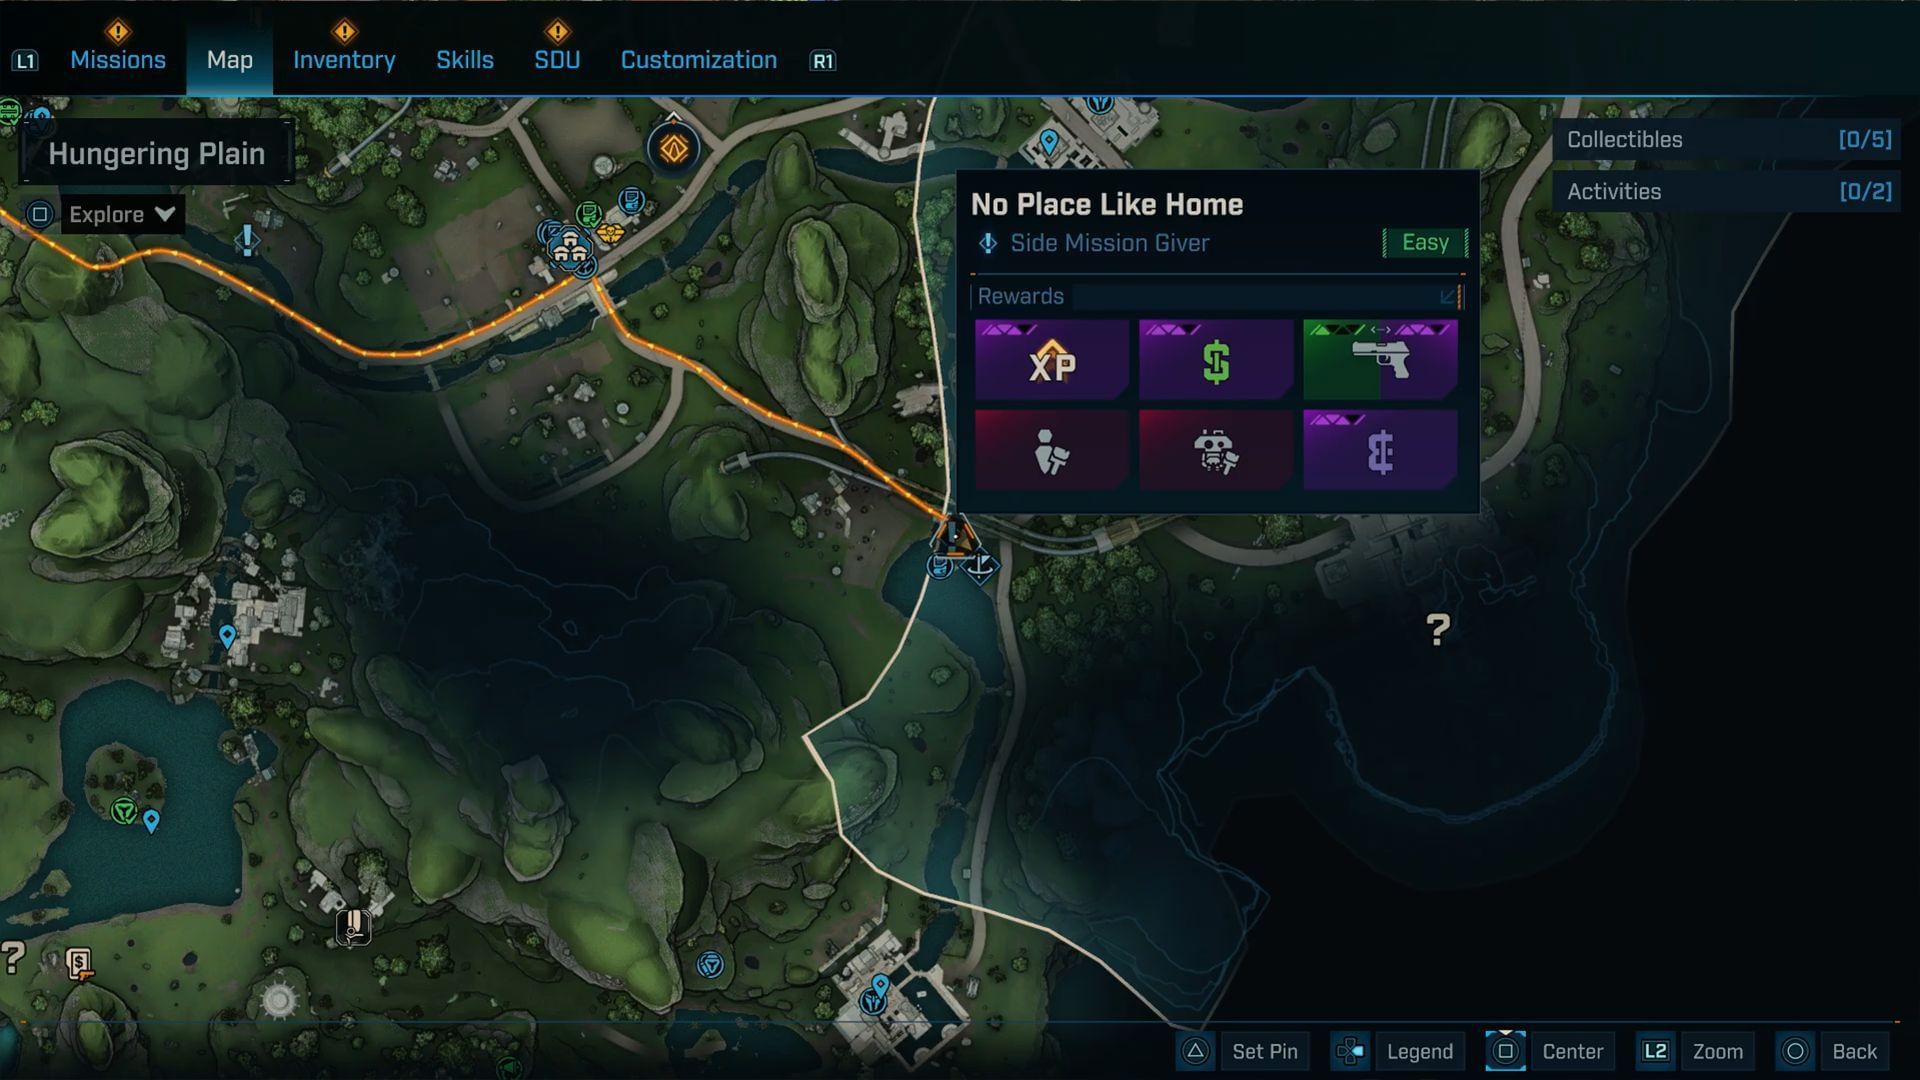
- Recommended Level: 10-12
- Quest Giver: Claptrap
- Location: Hungering Plain, The Fadefields (south of the Wreck of Nostalgia / near the river west of The Flarewell)
- Time to beat on average: 30-35 minutes
This side mission is available once you are done with the Down and Outbound quest. This is also the first quest of Claptrap’s personal storyline, which is spread across five quests and directly ties into Borderlands 4’s Widely Beloved Mascot trophy.
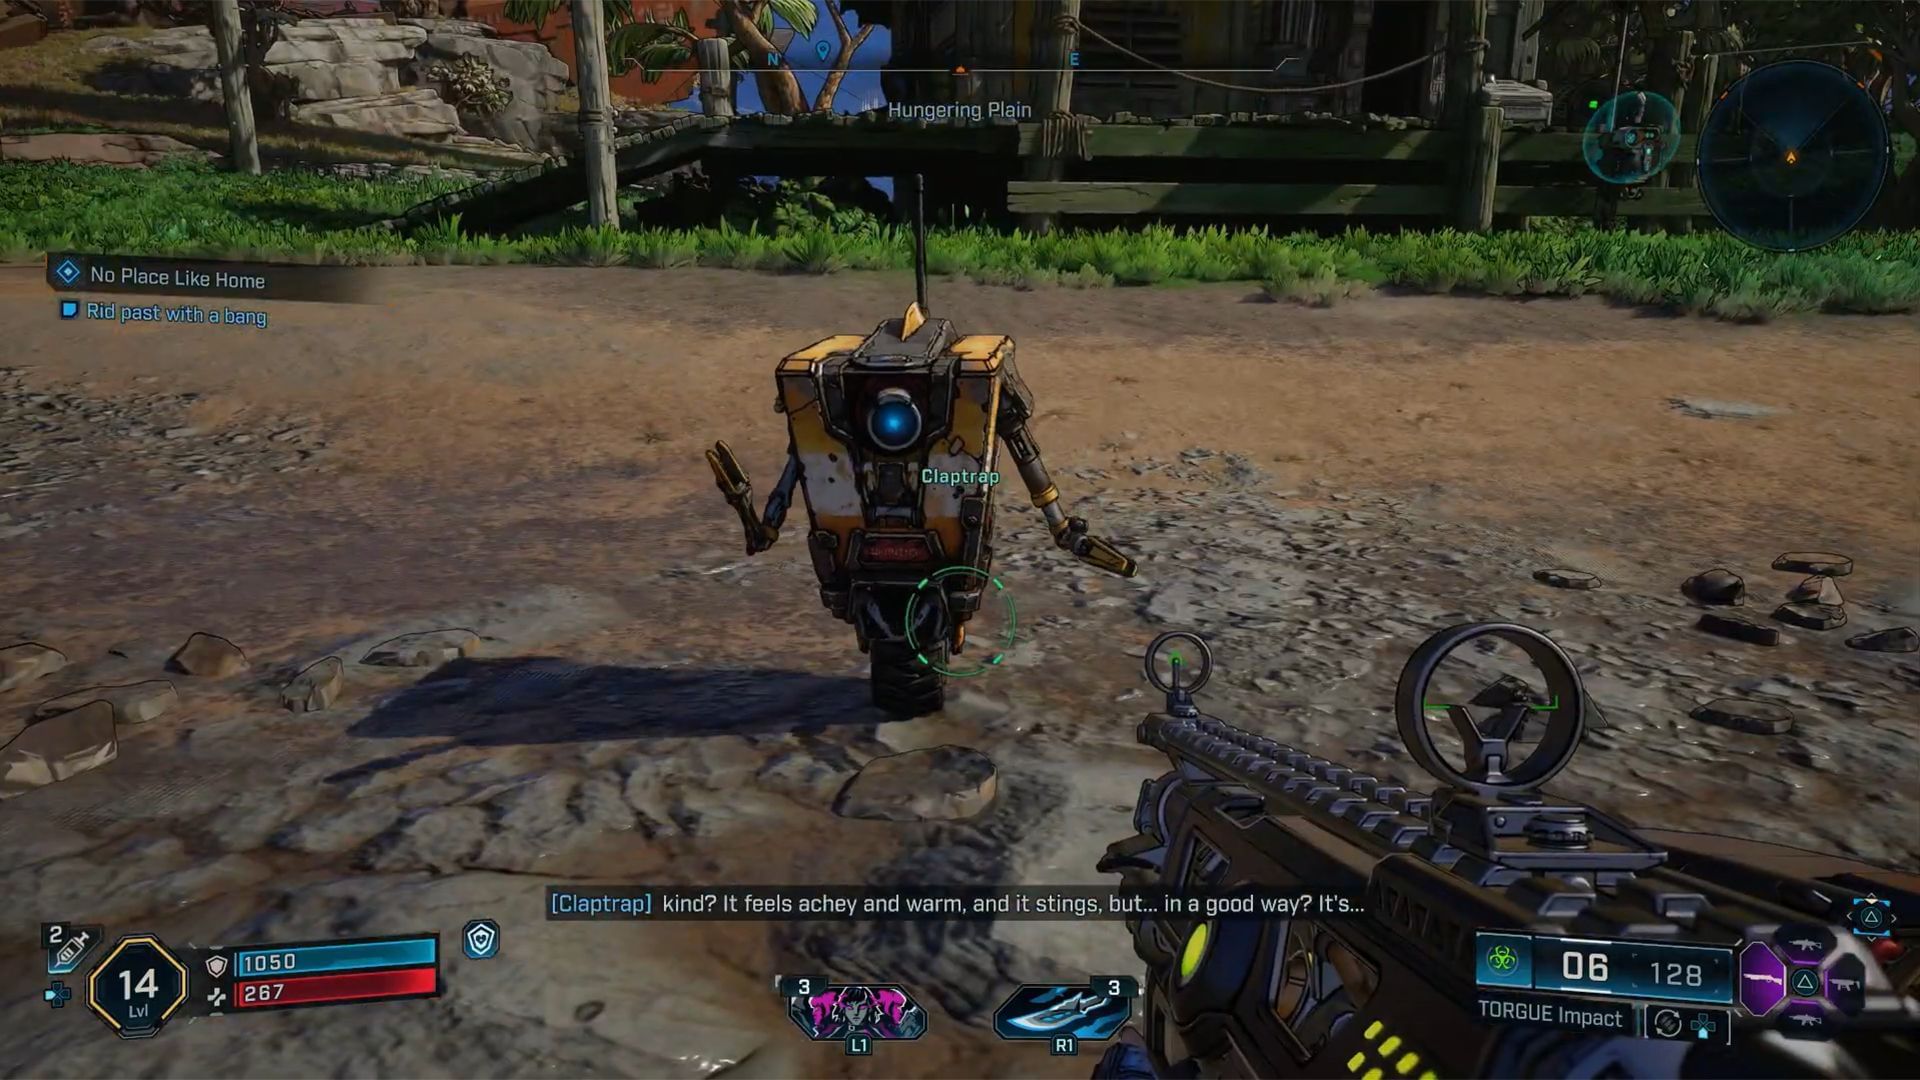
Stage 1: Talk to Claptrap
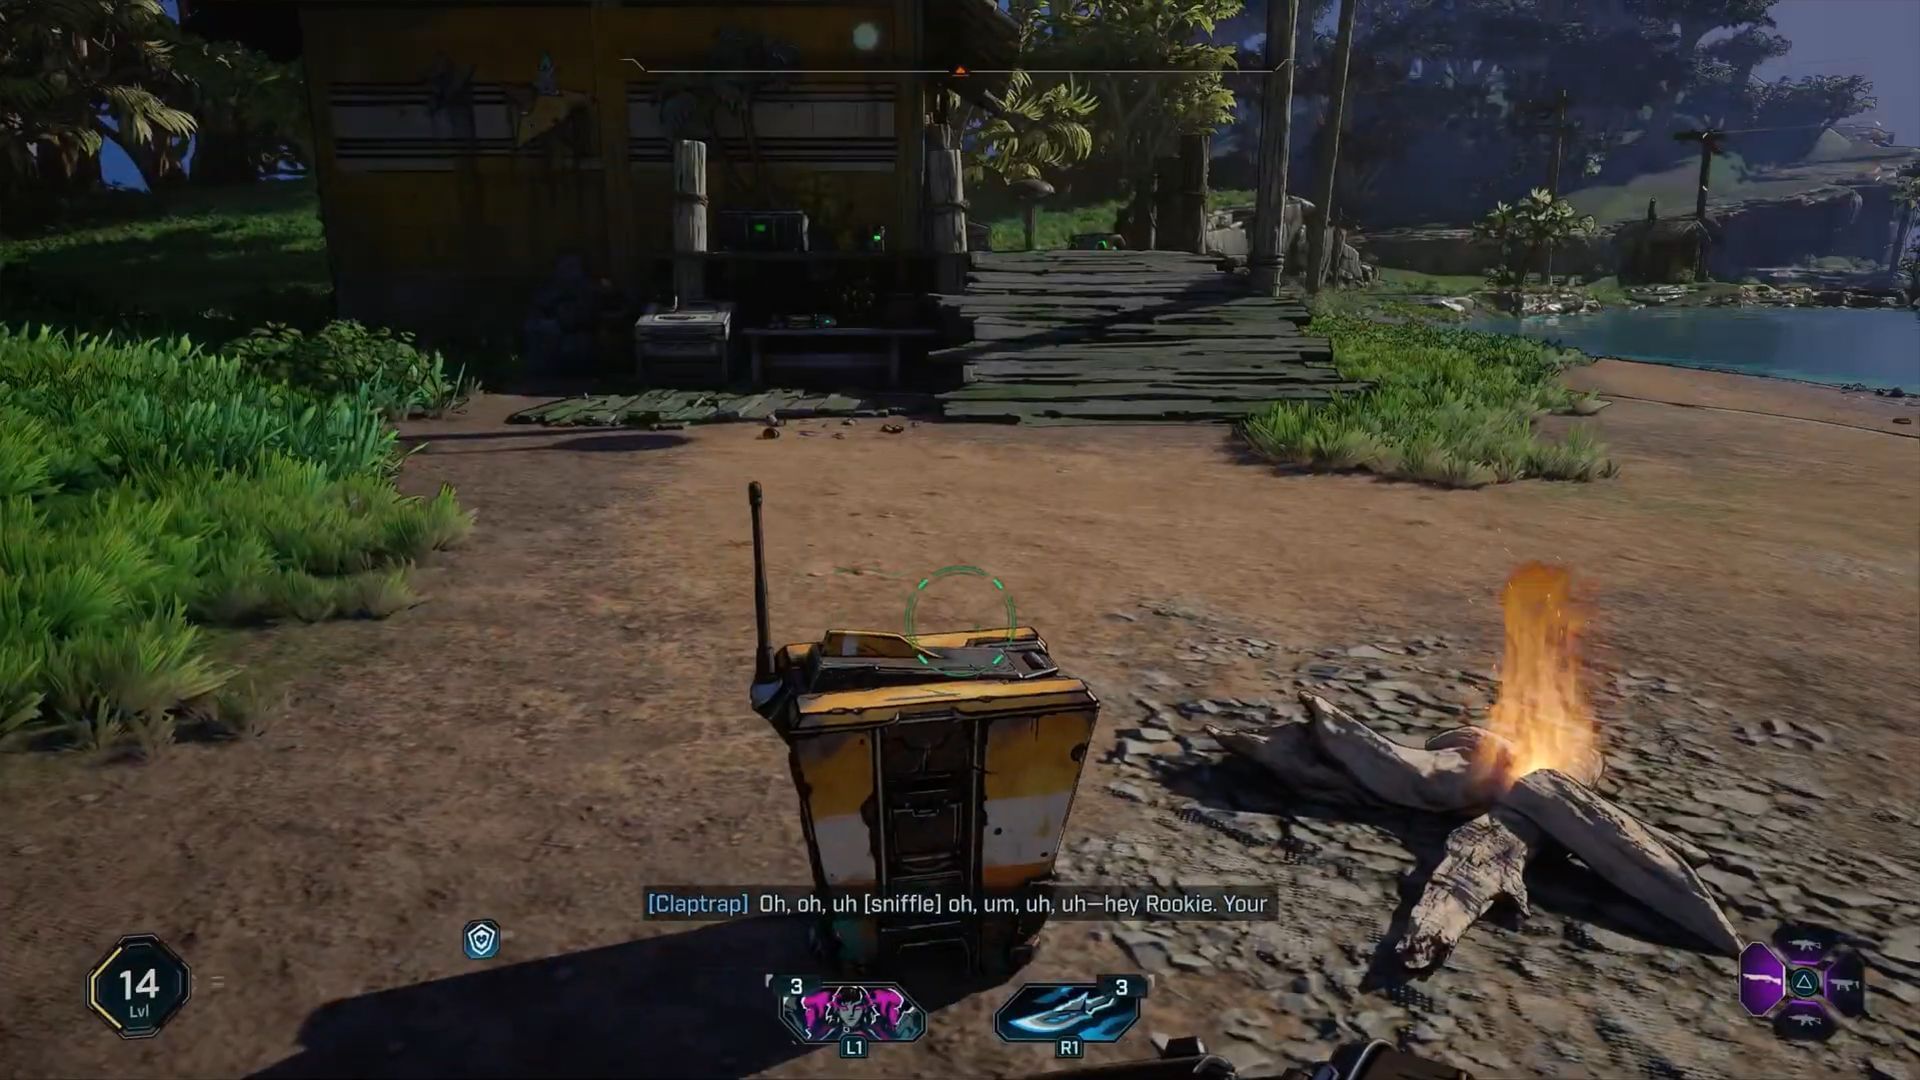
You can find Claptrap sitting sadly near a campfire outside a shack in the western area of Hungering Plain, where he is sulking about the "good old days in Pandora" and requires your aid to move on.
Stage 2: Reach the Order base

- Head east to find the Order Base in The Flarewell.
- Prepare to encounter Order troops as soon as you reach the base.
- Use cover and fire tactics to eliminate them. Elemental weapons work the best against their shields.
- Try to eliminate enemies in the outer section first if you don't want to get crowded.
Stage 3: Eliminate Jerk
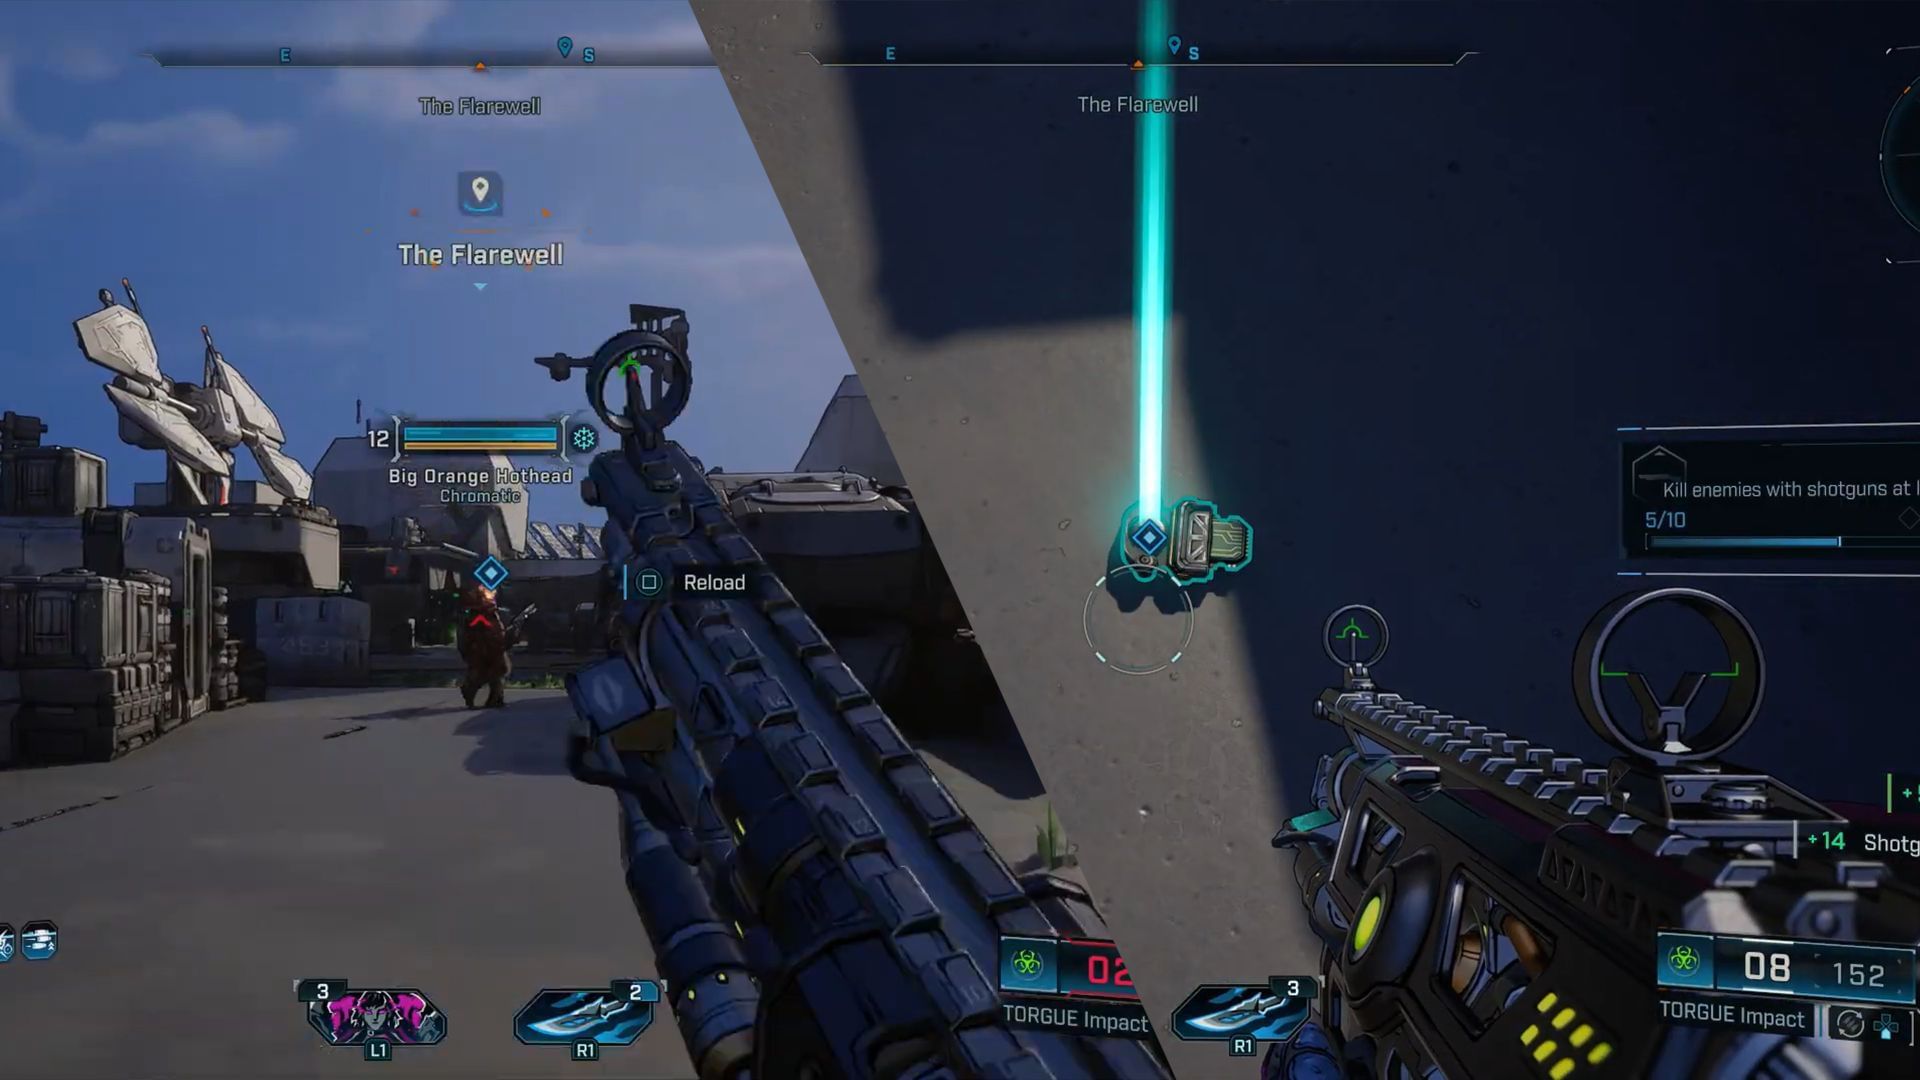
Once outer enemies are eliminated, you must enter the base to fight the miniboss Big Orange Hothead, aka Jerk.
- He is resistant to incendiary weapons but vulnerable to shock weapons, so have one in hand.
- Once defeated, Jerk drops the Facility Keycard, which is required to progress into the quest.
Also read: Borderlands 4 co-op: How to play with your friends
Stage 4: Find the depot entrance
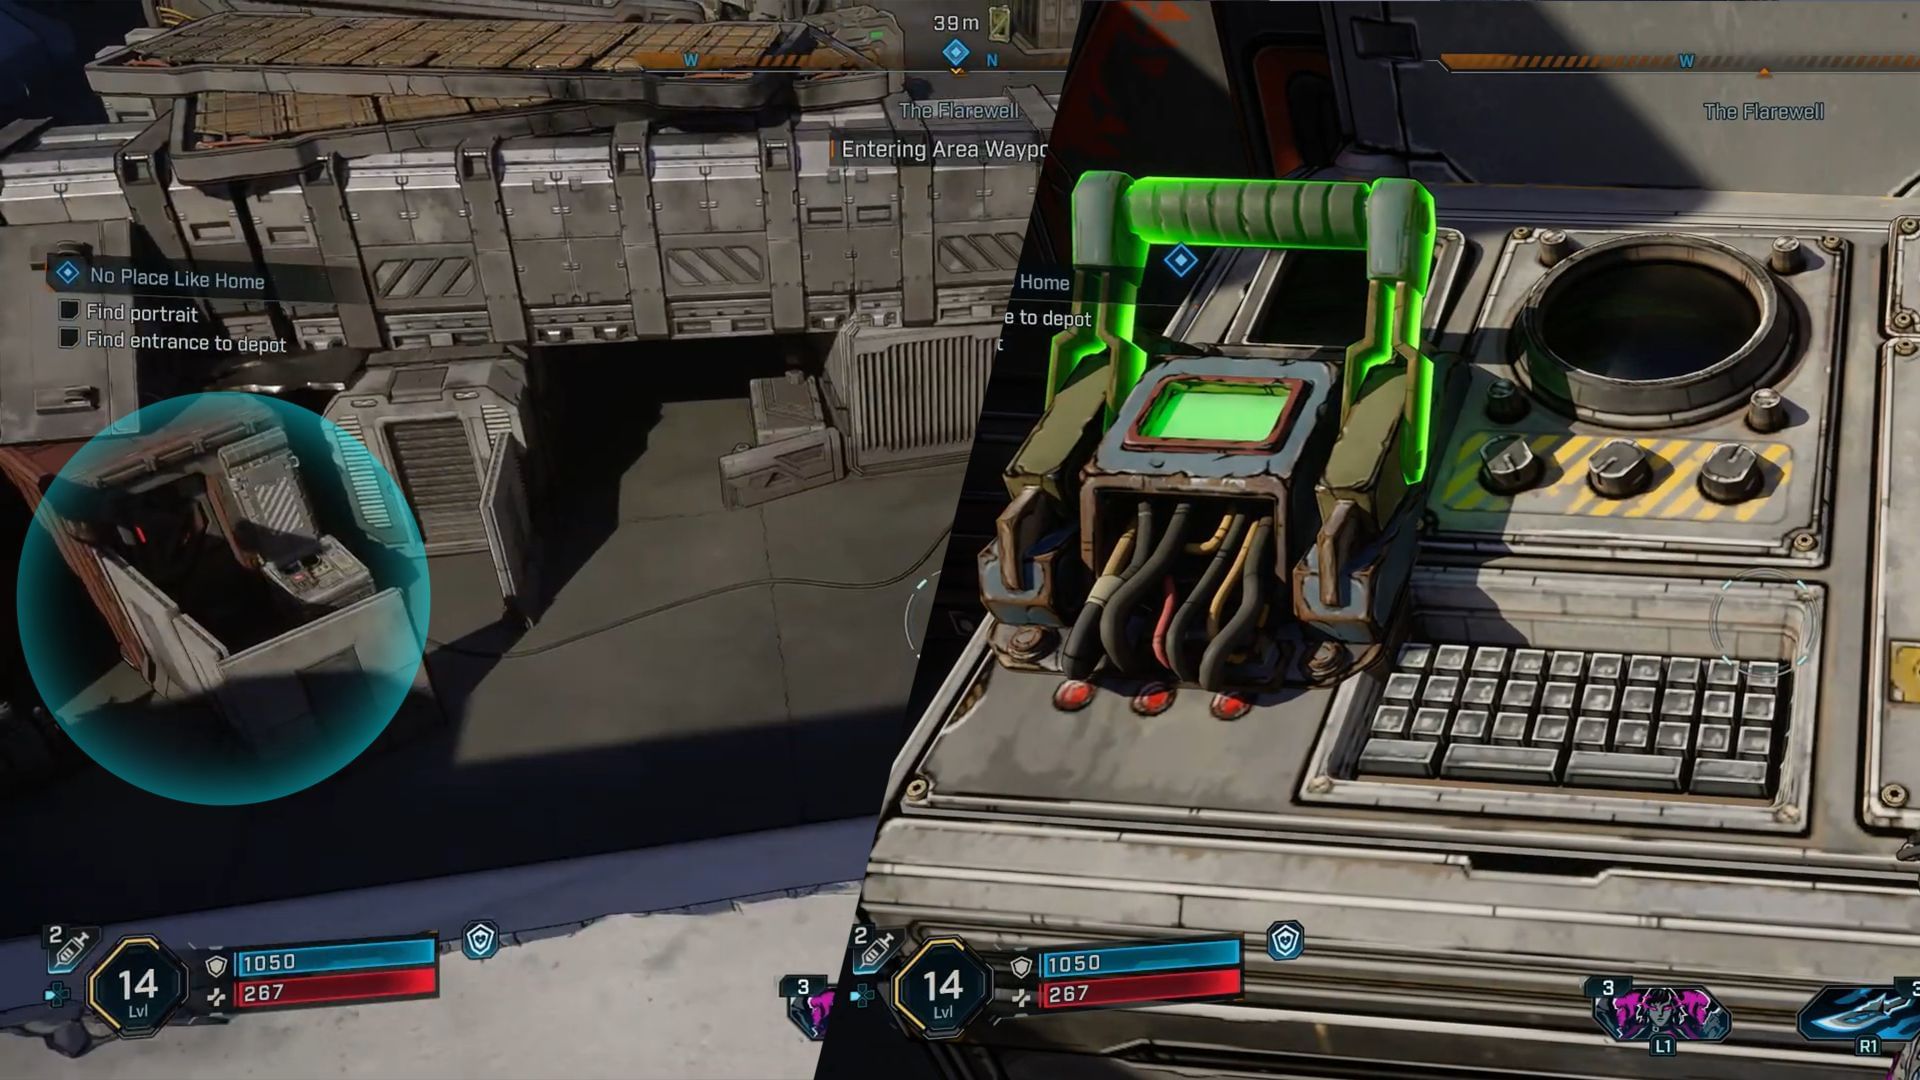
Once you have the keycard, find the depot to the southeast of the Order base. While the console works, flipping the switch doesn't do anything.
- The door can't be opened, so instead, jump through the nearby broken wall, and follow the wire.
- This leads to a secret second console in the southwest corner inside the search zone. Enter your Facility Keycard here.
- Activate the console to open the shipping container, which has a hole in the floor that leads into the facility.
Also read: Borderlands 4: How to farm bosses for Legendary gear (Moxxi's Encore)
Stage 5: Get the Tasteful Portrait (Objective: 1)

- Drop down inside the new depot area. To continue, you'll have to climb a few ladders. On the way, there are assorted chests you can open to pick up extra loot.
- Continue onward till you find a room arranged like a shrine to Moxxi with orange lighting.
- You will find the Tasteful Portrait (quest item) on top of a table.
Stage 6: Get VR-ON1CA’s Processor (Objective: 2)

Once you’ve acquired the Portrait, the door to the next room opens up automatically, leading to another fight with Order troops. Clear out the troops, go up the stairs, and go outside. Next item on the list si VR-ON1CA... or at least whatever remains of her.
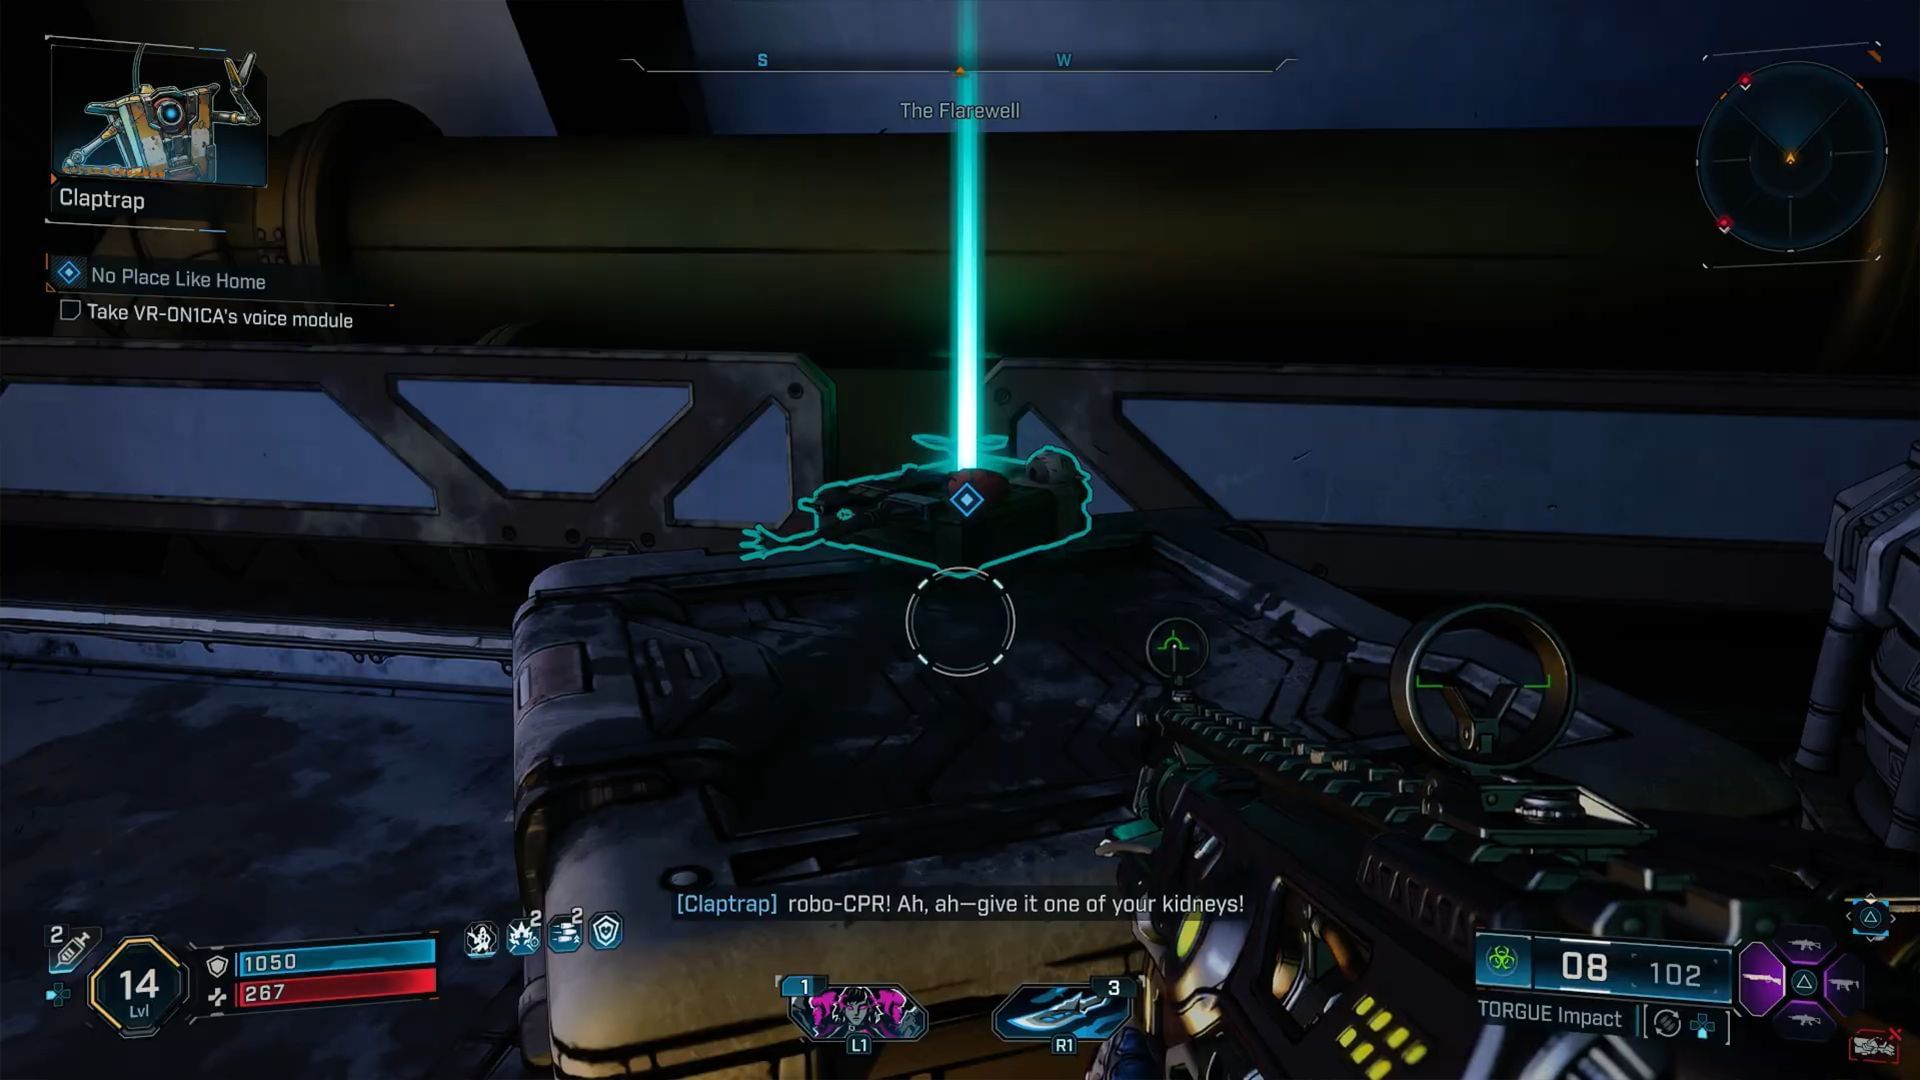
- Use the grappling hook to climb the adjacent tower highlighted by the quest objective.
- You will spot VR-ON1CA’s Processor through the window, but it can't be accessed since the door is locked.
- Activate the Laser Cannon using the control switch. The idea is to use the cannon to break through the door.
Note that you will be continuously under fire from Order troops, so ensure you clear the area before you proceed any further. To unlock the door, you must do the laser panel puzzle by reorienting two laser panels. Here’s how to do it:
- See the direction of the laser. It is reflected by a first panel, and the rotation on this panel is broken, so you cannot modify it further.
- However, the laser reflects to a second panel that you can indeed move by grappling its handles. Look southwards for a third panel nearby. You have to reorient the second panel so it goes into the third panel.
- The third panel can then be rotated twice to direct the laser into the concrete door, which will then destroy it.
Once you get to VR-ON1CA's voice module, you'll find out that it's damaged. Before you proceed, make sure to also open up the Order Chest in this room towards the left.
Also Read: Borderlands 4: Hackey Smack contract guide
Stage 7: Locate the Crimson Resistance Asset (Objective: 3)
This is the last piece of memento you’ll need to recover for Claptrap.
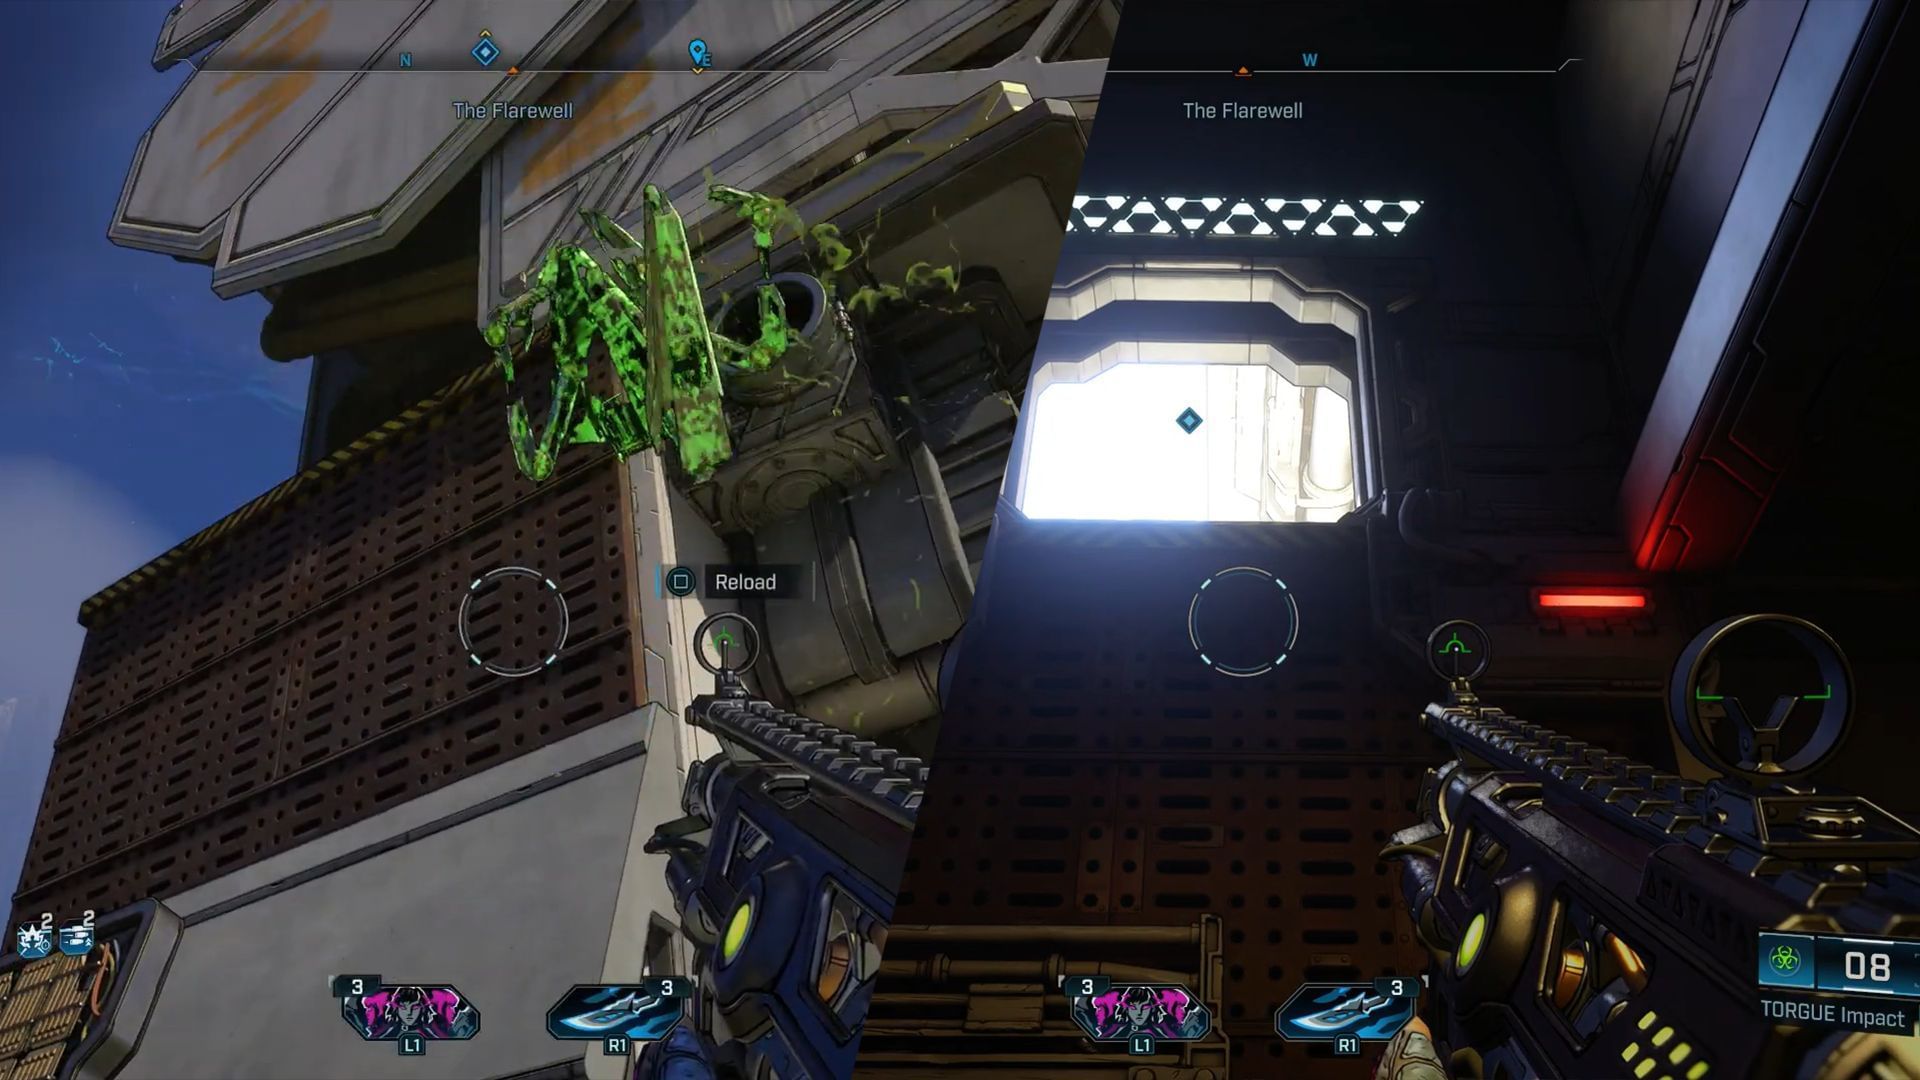
Go through the door that just opened up (and spawned two Order guards), and you’ll find a climbable wall to the left side. Climb the tower using the climbable walls, jumping to the right places, and using the grappling hook.
- Tip: Some of the panels can be pulled open to be used as jumping pads; use them to move up. These panels need to be grappled twice before they're aligned properly.
Detailed instructions:
- Once outside, look through the opening on the right, and you'll find the first unfoldable panel that you can jump on. However, your main goal is to circle around and go right, which can just be done by a jump glide without activating this panel.
- Once you have landed on the floor towards the right, look behind for a climbable wall.
- If you're accosted by Witness(es) at this point, make sure to kill them first, or they just follow you around being a nuisance.
- Follow the corridor towards the left, and you'll eventually run into another series of climbable walls.
- Once you've climbed these two walls, look towards the north for another unfoldable panel. Open it up and land on it, and you'll see another porch on the left you can jump forward towards. Turn around, and you'll see a long climbable wall here that leads you to the top of the tower.
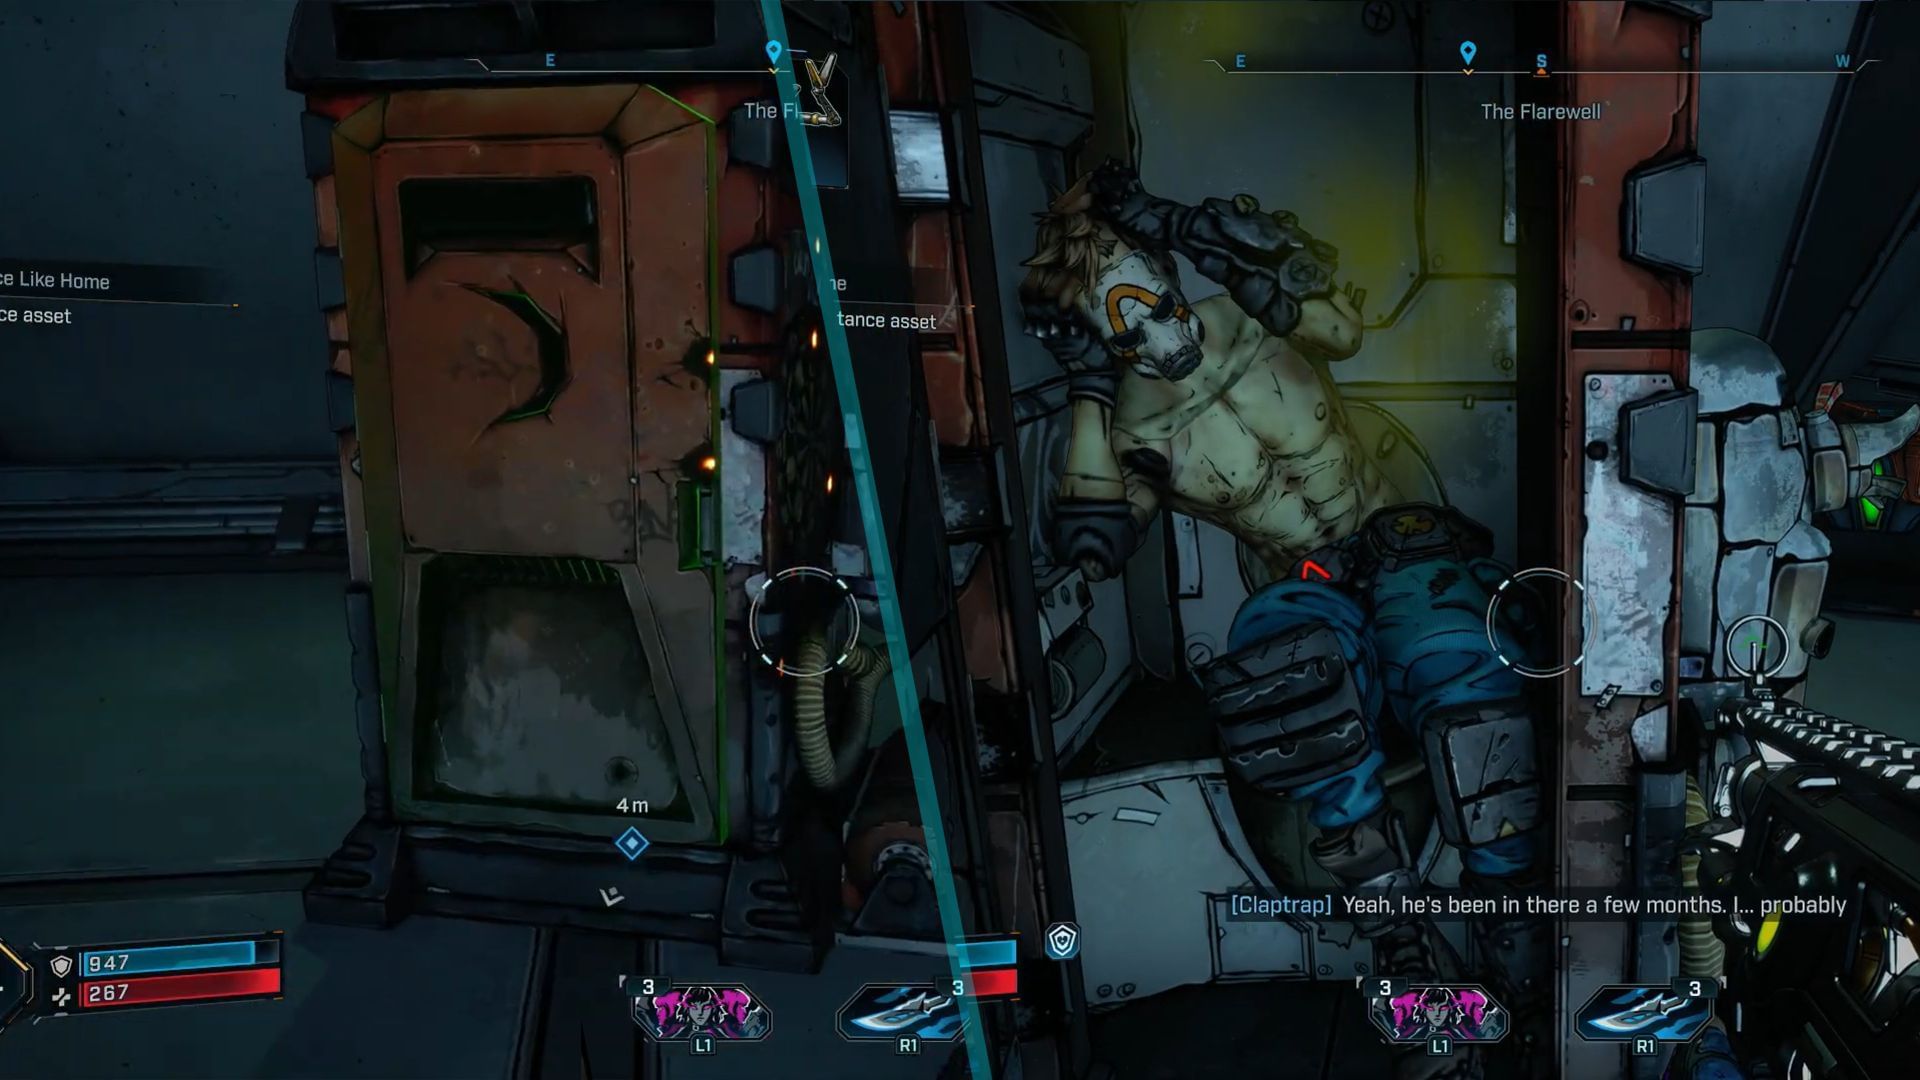
Once you’ve made it to the top of the tower, you’ll find:
- A red loot chest with some extra gear.
- A porter potty with a dead Crimson resistance psycho. Loot Rustknuckle’s mask from the dead body.
Also read: How long will Borderlands 4 take to beat?
Stage 8: Return to Claptrap to end the mission

Once you’ve acquired all three quest items (Portrait, Processor, and Mask), return to Claptrap in the Hungering Plains. He will want to let go of his past on Pandora.
- Place the quest items on the raft by the riverbank.
- Acquire two explosives from Claptrap’s workbench and attach them to the side of the boat.
- Once Claptrap pushes the boat out into the river, you must shoot them to set the boat along with the items ablaze.

At this stage, the quest is completed, as Claptrap will be satisfied with letting go of his past.
Also Read: How to get your first vehicle in Borderlands 4
Rewards
Completing the No Place Like Home quest rewards you with a moderate bundle of XP, cash, and customizations:
- Experience / XP (scales depending on your level)
- Cash
- Eridium
- Weapon: Pistol (up to purple rarity)
- Customization: Crimson Takeover Vault Hunter Style and Crimson Takeover ECHO-4 Paintjob
Finishing this quest also starts the Sum of His Parts quest, which is also the next quest in Claptrap's storyline in Borderlands 4.
Read more articles on Borderlands 4 here:
- How to send gear to Bank in Borderlands 4
- All Fadefield Vault Key fragment locations in Borderlands 4
- All Collectibles in The Howl
- All Collectibles in Hungering Plains
- Borderlands 4: Meat is Murder walkthrough
- Borderlands 4: Abduction Injuction walkthrough
- Borderlands 4 Working for Tips walkthrough
- Borderlands 4 Boss loot table