
'%20x='0'%20y='0'%20height='100%25'%20width='100%25'%20%0A%20%20%20%20%20%20%20%20%20%20xlink%3Ahref='data:image/jpg;base64,/9j/2wBDAAYEBQYFBAYGBQYHBwYIChAKCgkJChQODwwQFxQYGBcUFhYaHSUfGhsjHBYWICwgIyYnKSopGR8tMC0oMCUoKSj/2wBDAQcHBwoIChMKChMoGhYaKCgoKCgoKCgoKCgoKCgoKCgoKCgoKCgoKCgoKCgoKCgoKCgoKCgoKCgoKCgoKCgoKCj/wgARCAAGAAoDASIAAhEBAxEB/8QAFgABAQEAAAAAAAAAAAAAAAAAAAUG/8QAFAEBAAAAAAAAAAAAAAAAAAAABP/aAAwDAQACEAMQAAAAzFIMr//EAB8QAAIBBAIDAAAAAAAAAAAAAAECBAMREyEABRIiMf/aAAgBAQABPwCVIq9QFaPGiVFopmQuPYC6k/Qd2NuIyTEWSIsMZhks1Jid72fLn//EABcRAQEBAQAAAAAAAAAAAAAAAAECAAP/2gAIAQIBAT8A6xMgm//EABcRAQADAAAAAAAAAAAAAAAAAAEAAiH/2gAIAQMBAT8Acuk//9k='%3E%3C/image%3E%3C/svg%3E)
The Hangover Helper quest in Borderlands 4 is a side mission that can be triggered by visiting The Fadefields area on the map. It is a comparatively straightforward task that you would need to complete by gathering different ingredients from around the region. There is quite a bit of back-and-forth in this side quest, making this mission a bit tedious. However, the rewards for completing this quest are healthy and could help you in the game.
This article will highlight the best way to complete the Hangover Helper quest in Borderlands 4.
Quest giver:
Where can you start the Hangover Helper quest in Borderlands 4?
The Hangover Helper quest in Borderlands 4 is one of the earliest you can tackle, and in the very first region, Coastal Bonescape. Usually, most players find the quest from Iris, standing in a run-down shack due north-east from the Abandoned Post safehouse. This is found right next to another NPC that gives you the Abduction Injunction quest, too.
- Talk to the NPC named Iris and accept the task. You can also choose to track the progression of the mission. You will be directed to interact with another NPC, Ole Shammy, from here and mark the beginning of the mission.
- Alternately, you can simply travel to Shammy's Shack towards the upper-right quadrant of Coastal Bonescape. Ole Shammy can get your started with the quest directly.
Whichever NPC gives you the Hangover Helper quest, it goes the same way and you get the same rewards.
- Tip: To get the most bang out of your bucks, you should pick up Patrol contracts for Kratches and Wildhorns during the quest, as you'll be killing a lot of these creatures as you get through the quest stages of Hangover Helper in Borderlands 4.
How to complete the Hangover Helper quest in Borderlands 4
Talk to Ole Shammy

Regardless of whether you picked up Hangover Helper from Iris or Shammy, the conundrum is the same. The Moonshine sold here is too potent and a single bottle gives a month-logn supply of booze, which is bad for business. The goal of the quest is to thus alter the formula.
Travel to Cliffs (Gather fruit and kill Kratches)
You will be directed to go to the Cliffs after the conversation ends, as you'll need to gather four fruits from a Kratch-infested area. This is on an elevated terrain you can't directly reach via the hoverbike. However, the ECHO-4 direction given for the Hangover Helper quest is very accurate early on, so track the quest and use the device to get an easy-to-follow path.
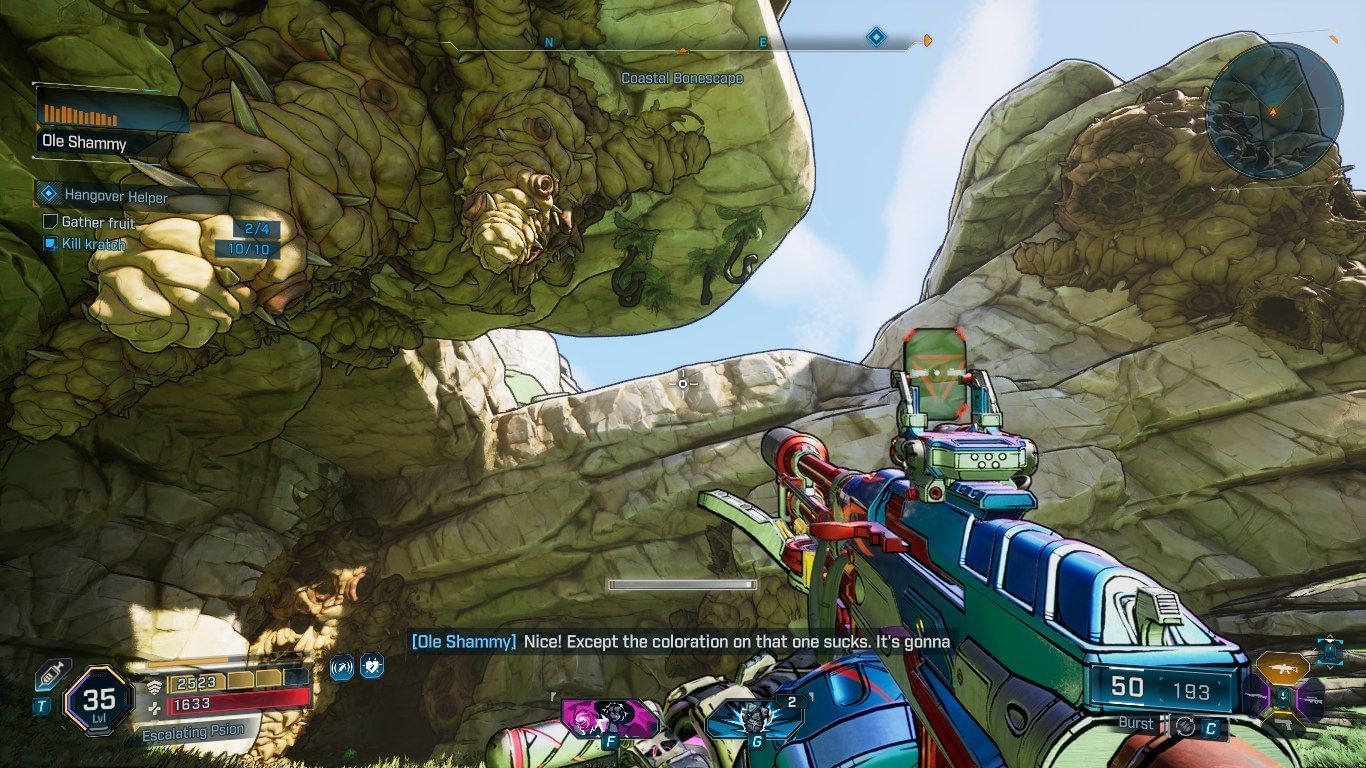
Climb up the Cliffs to find the first fruit you can grab from the giant Kratch hive at the center, and the second one is hanging from the ceiling towards the north-east.
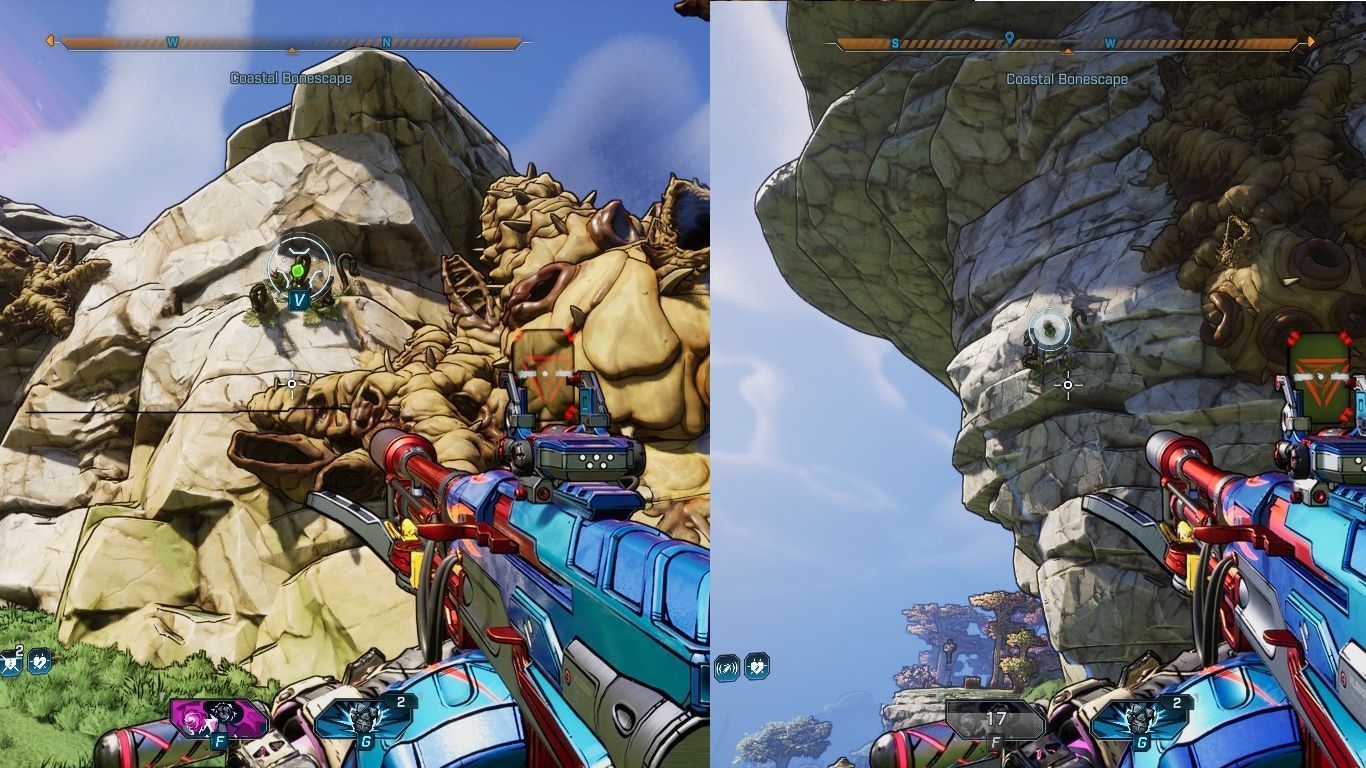
- If you're not sure what to do here: you'll need to look at the fruits, and then grapple them (V by default on PC) to collect them.
- You can just run past the Kratch, but they follow you around throughout the mission. It's best to eliminate them as you go.
- Make sure to take extra care against Acrid Kratches if you're not a high enough level, as a few of them together can knock you out easily with their projectile attacks.
At this point, the quest tells you that you'll need a very specific bitter fruit - so long story short, you'll need at least four fruits to figure out the right one.
After you have collected the first two, you have to head to the south-west along the cliffline. Jump to the small hillock in the middle with the ammo container on it. Then, check for a grapple point right ahead to advance further.
After you enter the second quest circle (the blue outline visible on the ground) on the Cliffs, the third fruit can be found on the cliff face towards the right (north-west). The fourth fruit is a bit further ahead on the cliff face towards the west.
By this point, you'll also be directed to kill 10 Kratches. Given the high population of Kratches here, you're likely to wind up killing more than 10. However, once you have killed 10 of them, note that a Badass Kratch also spawns that's required to kill to progress the Hangover Helper quest.
- The Badass is a bit more difficult to kill due to its large health pool. If you're underpowered, make sure to kill off the lesser Kratches first, and then use the rock formation in the middle to kite out the Badass' attacks.
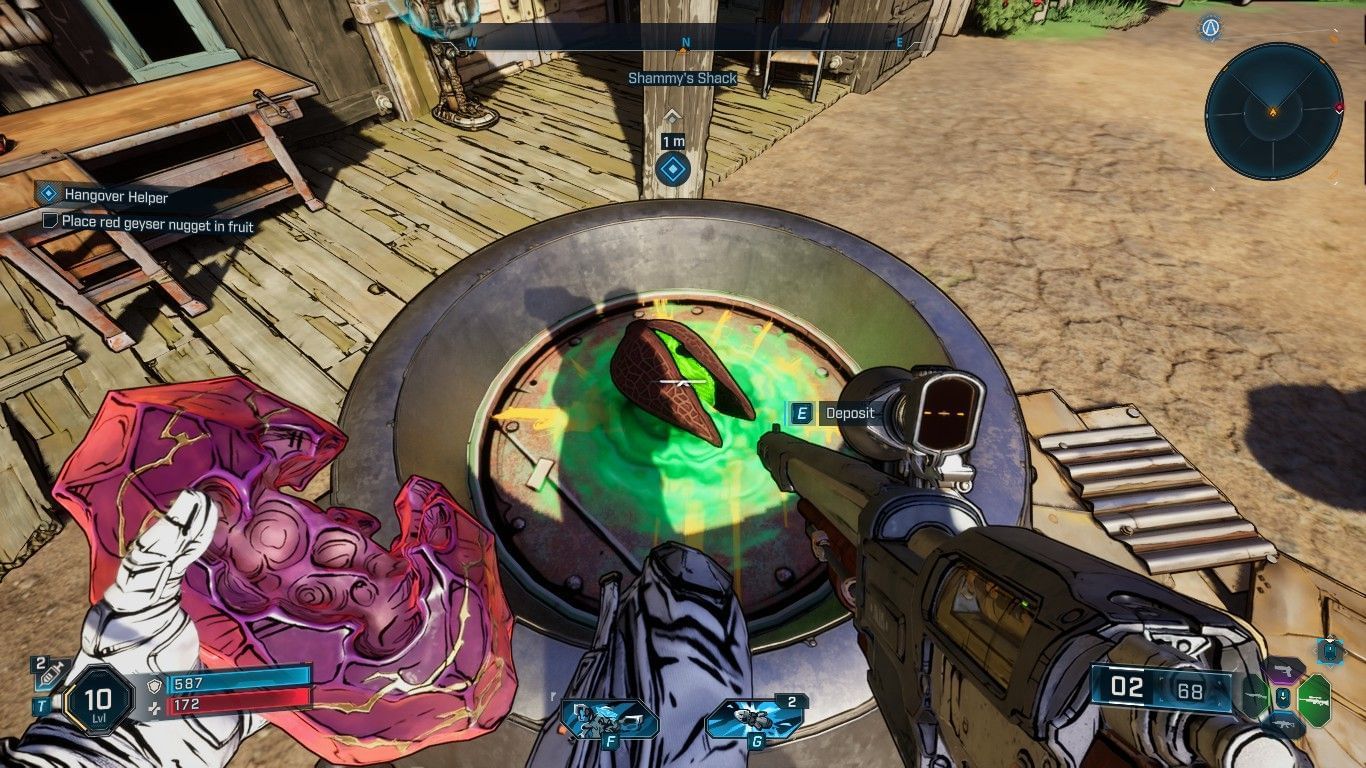
Return to Ole Shammy, place fruit in Stomping Tub, and remove seeds
After you are done collecting the four fruits, you can jump off the cliff to head back to Ole Shammy. You will be tasked with placing the fruits in the Stomping Tub to take out only the necessary ingredient. Slam into the fruit to remove the seeds.
- Slamming here will require you to at least double-jump to get it right. If you're doing the Hangover Helper quest very early into Borderlands 4, it's possible you haven't done the slam mechanic yet -- so now is a good time to practice.
Afterwards, your next ingredient on the menu is a Geyser Nugget.
Find Geyser
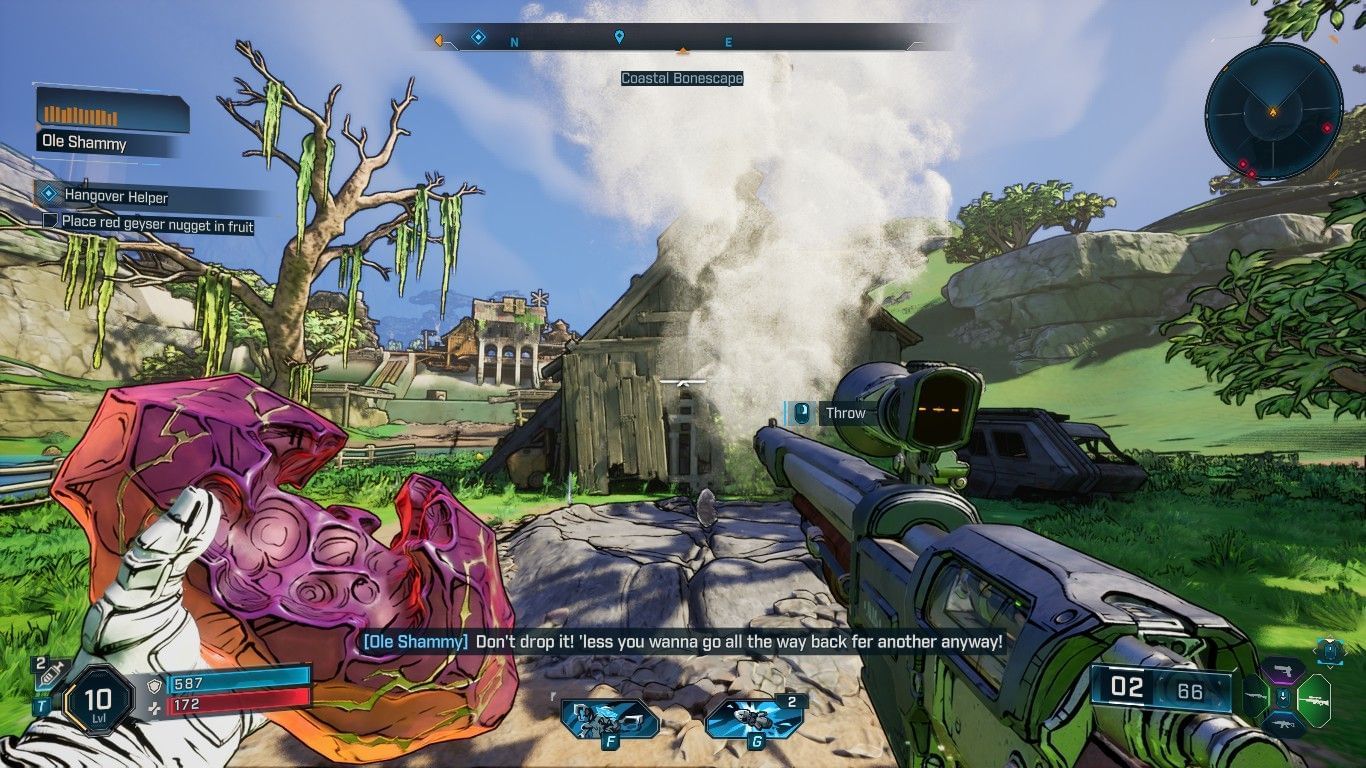
You will then need to find a geyser, located at the new waypoint for the Hangover Helper quest. The geyser will look like a circular, cracked area on the ground with some small steaming vent. Ground slam this area (like you slammed the fruit before) to crack the geyser fully.
Grapple one of the red geyser nuggets when it blasts out of the ground.
- This requires you to carefully look at all the pebblets being shot out of the geyser, and snatch a red one. If your aiming is slow, the easiest way I've identified is to look up where the nuggets start falling down, which is where the nuggets get less erratice airtime.
- If you accidentally drop the red geyser nugget, you'll have to get a new one. Due to this reason, make sure not the aggro the wildhorns nearby.
Once you acquire a red geyser nugget, take it back to Ole Shammy's Shack without dropping it along your journey. This means no hoverbiking, and preferrably no combat before you reach Shammy. Deposit in the stomping tub once you're there.
Gather Mangler Scent Glands
Next, you will be directed to obtain some Mangler Scent Glands. Follow the objective marker on the map and then eliminate Manglers to collect the Scent Glands.
- If you have nearby Silo unlocked, you can just fast travel there and jump off into the quest area to save time.
- Each Mangler can drop only one gland, so you'll need to kill nine of them to collect 9 Mangler Scent Glands. Thankfully, the Mangler spawn here is plentiful enough that it won't take long.
After you gather these, haul them back to Ole Shammy and place them in the tub as usual.
De-spike Beer Supply
Once you have combined the artifact of questionable scent in the stomping tub, you'll need to pick it up and bring it to the nearby scav outpost.
Pick the item from the Stomping Tub and travel to the objective marker once again.
- Note: Make sure not to throw it, as the item can clip through terrain and bug out the quest.
Once you're at the outpost, climb up the short tower by grappling on the roof of the house nearby.
- Deposit the item on top of the drum located on the tower.
- Go to the microphone on the stage and gather all the NPCs below the tower.
- Shoot the side of the container on the tower to complete the objective.
- Another note: There are some Rippers in the crowd that turn hostile as they sober up, so prepare for combat.
Kill Rippers
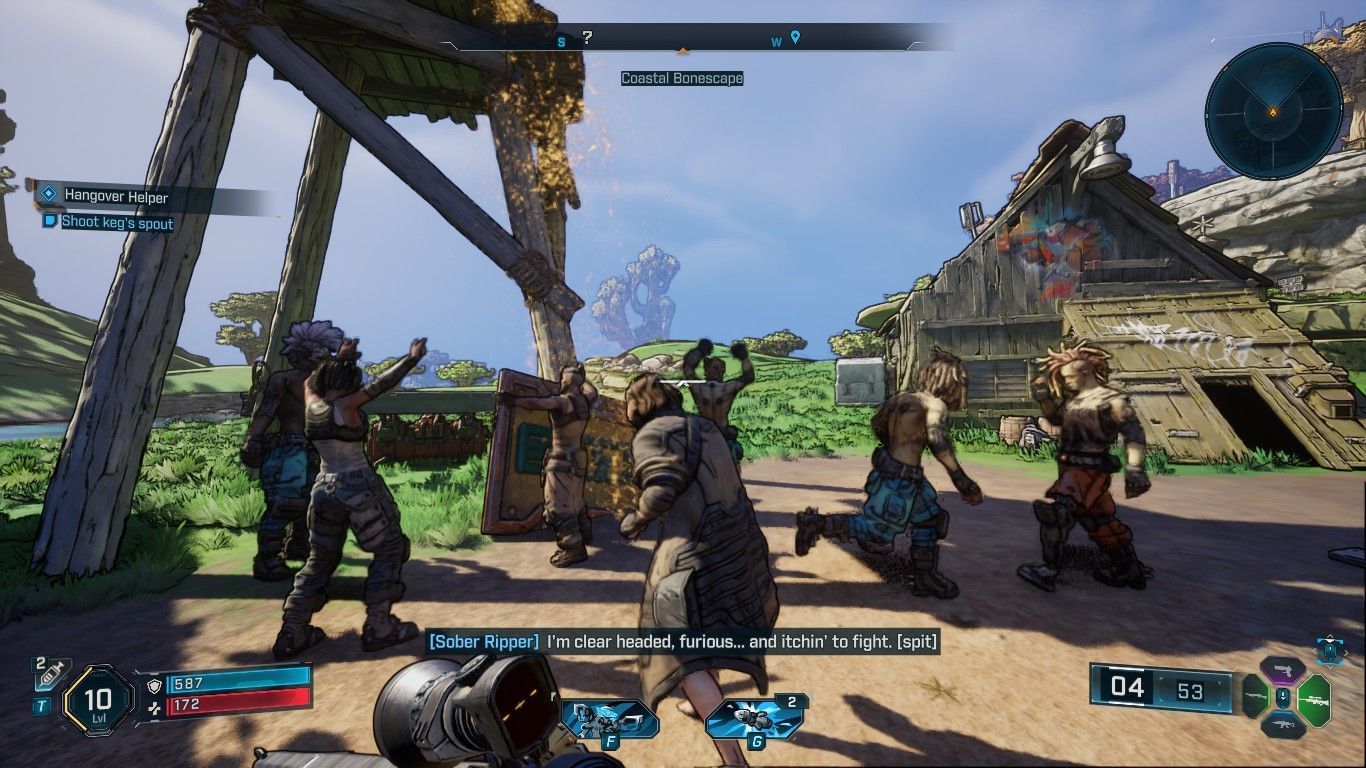
As the fianle of the Hangover Helper quest in Borderlands 4, you will have to eliminate all the Rippers in the area. Generally, there will be at least 7 to 8 of them.
Afterwards, the non-Ripper participants of the rave runs back to Ole Shammy's for a top-up on their liquor, and the quest is now complete.
- Before you head out, make sure to open the Red chest behind the drum tower.
All Hangover Helper quest rewards in Borderlands 4
Here is a list of all the rewards that you can get after completing Hangover Helper quest in Borderlands 4:
- Experience Points
- Cash
- Green or Purple-rarity Pistol
- Soused Vehicle Paint Job
- SousedWeapon Skin
Stay tuned to Sportskeeda for more updates, guides, and news.
- Borderlands 4: All Coastal Bonescape collectibles
- Borderlands 4: Meat is Murder walkthrough
- Borderlands 4: Abduction Injuction walkthrough
- Borderlands 4 No Place Like Home walkthrough
- Borderlands 4: All Waterstep Evocarium locations
- Borderlands 4 Boss loot table
- Borderlands 4 Vault Hunter tier list
