
'%20x='0'%20y='0'%20height='100%25'%20width='100%25'%20%0A%20%20%20%20%20%20%20%20%20%20xlink%3Ahref='data:image/jpg;base64,/9j/2wBDAAYEBQYFBAYGBQYHBwYIChAKCgkJChQODwwQFxQYGBcUFhYaHSUfGhsjHBYWICwgIyYnKSopGR8tMC0oMCUoKSj/2wBDAQcHBwoIChMKChMoGhYaKCgoKCgoKCgoKCgoKCgoKCgoKCgoKCgoKCgoKCgoKCgoKCgoKCgoKCgoKCgoKCgoKCj/wgARCAAGAAoDASIAAhEBAxEB/8QAFgABAQEAAAAAAAAAAAAAAAAAAAUG/8QAFAEBAAAAAAAAAAAAAAAAAAAAAv/aAAwDAQACEAMQAAAAxMAJ/8QAHxAAAQIGAwAAAAAAAAAAAAAAAQIDAAUGERQhEyKh/9oACAEBAAE/AJhI+F5lvKJyQtSiG7bA1q8Kp5wKPdr2P//EABYRAAMAAAAAAAAAAAAAAAAAAAABEv/aAAgBAgEBPwCmf//EABYRAQEBAAAAAAAAAAAAAAAAAAEAAv/aAAgBAwEBPwAyX//Z'%3E%3C/image%3E%3C/svg%3E)
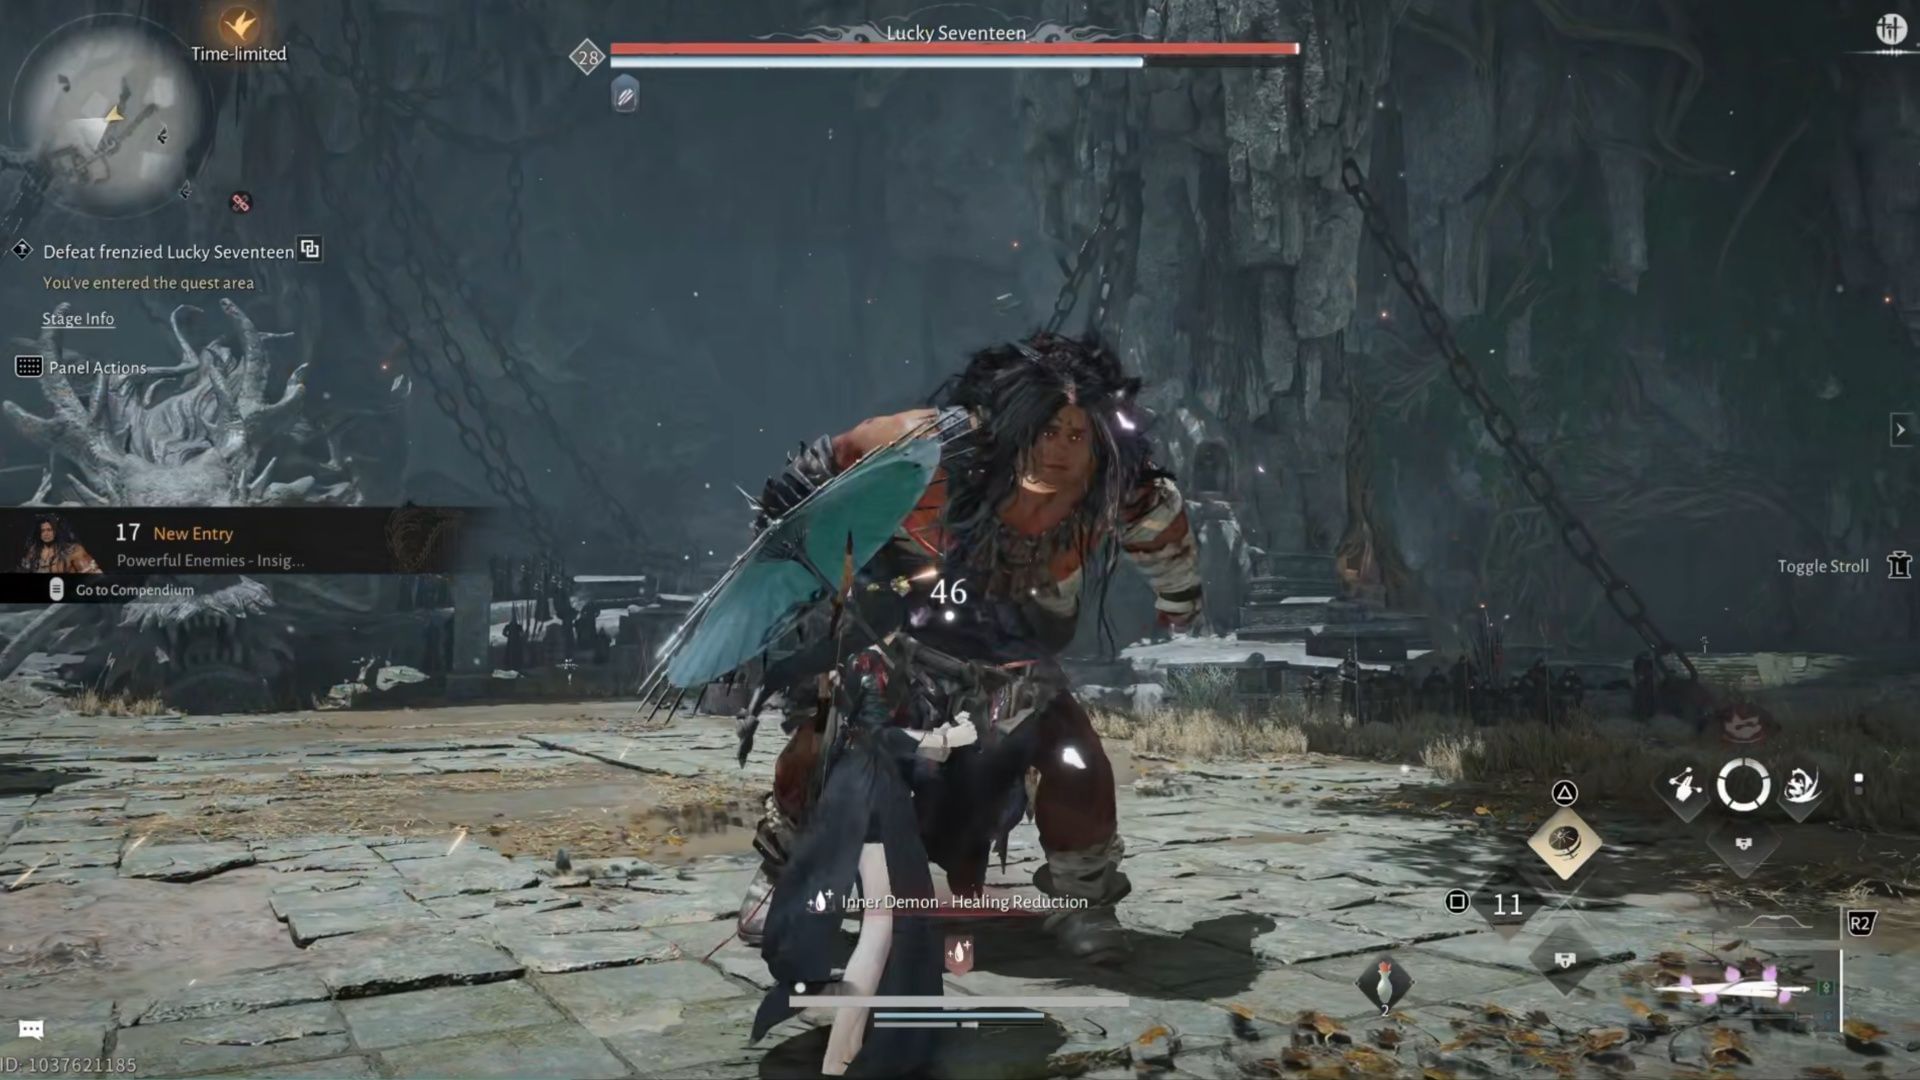
Lucky Seventeen is a powerful campaign boss in Where Winds Meet, found at the end of the Palace of Annals. You can unlock this dungeon within the forests of Qinghe pretty early in the game, and will give you another fight you can regularly tackle for a variety of rewards. However, Lucky Seventeen doesn’t go down easy, and has some pretty intense melee attacks.
He’s not attached to the main story though, so, unlike Qianye the Witch, he’s incredibly easy to miss if you aren’t actively exploring the world. His dungeon, the Palace of Annals, isn't too challenging either. If you’re looking for another boss to put down in Where Winds Meet, here’s what to do against Lucky Seventeen.
Tips to defeat Lucky Seventeen in Where Winds Meet
You can find Lucky Seventeen at the bottom of the Palace of Annals in Where Winds Meet. After you’ve defeated him here, you can just go to the Campaign screen (Wandering Paths), and challenge him. It’s a solid way to farm Tier 31 Jadeware armor, as well as the Crimson Leaves Chest, and other great options.
Looking for Crossword hints & solutions? Check out latest NYT Mini Crossword Answers, LA Times Crossword Answers, and Atlantic Crossword Answers

You can find the Palace of Annals in Moonveil Mountain, shown on the image above. You can use the Boundary Stones for Front Mountain, Stillwind Slope, or Deer Pond to get there swiftly. Personally, I used the Vernal Umbrella and Nameless Sword, but if I had the Panacea Fans unlocked, I’d have used that as my secondary weapon. Toad Leap is a great Mystic Art in this fight to help push down his Qi Meter.
1) Phase 1
Lucky Seventeen’s attacks
- Jumping Strike: Roars and leaps forward to attack. Parry or Dodge.
- Rage Lunge: Turns red, stomps, and jumps at you. Parry or Dodge.
- Rage Rush: Turns red, stomps the ground, and charges forward with a left-handed blow. Parry or Dodge.
- Crawling Sweep: Crawls on the ground and tries to sweep, and then punches twice while getting up. Parry or Dodge.
- Flying Headbutt: Short hops and tries to headbutt you, which can stagger. Parry or Dodge.
- Golden Fists: His fists glow, and flips debris off the ground. Must be dodged.
- Long-Distance Punch: Turns red, stomps, and leaps forward to do two punches. Parry or Dodge.
- Melee Combo: After a stomp, he punches twice, and hits a spinning backfist. Parry or Dodge.
- Short Melee Combo: Charges and punches twice, both which can stagger. Parry or dodge.

In phase 1, Lucky Seventeen is pretty slow in Where Winds Meet, and many of his attacks involve him crawling towards you to try and smash into you, or kick you. However, he opens the fight by a giant leap towards you, and tries to punch you. These are easy to parry, so you can just keep pushing him around aggressively. Focus more on parrying his attacks, so you can drain his Qi Meter, and Execute for big chunks of damage.
When he glows red, one of two attacks will happen. After a few seconds, he’ll jump at you and stomp the ground, and this can be parried or evaded, whichever you prefer. The other, he’ll stomp the ground and swing at you with his left hand. This can also be easily parried in phase 1 of the Lucky Seventeen fight in Where Winds Meet.

Another attack to worry about is his flying headbutt, which will stagger you if you don’t parry or dodge. Just keep parrying and pushing him around until the cutscene, after you whittle his health bar down. The Aureate pavilion members set fire to the area, and while you survive, so does Lucky Seventeen in Where Winds Meet. It’s time for phase 2 of this Where Winds Meet boss fight, where he gets more aggressive, and much faster.
2) Phase 2
Lucky Seventeen’s attacks
- Dynamic Entry: Leaps, throws his sword at you, and picks it up. Parry or Dodge.
- Four-hit combo: Swings twice, does a short charge, and a wind-up attack. Parry or Dodge.
- Alternate four-hit combo: Uses aggressive, but slightly slower swings, ends with an overhead. Parry or Dodge.
- Golden Smash: Charges his weapon gold, and smashes into the ground. Must be parried.
- Red-Glowing Strike: Charges his weapon red, and swings quickly. Perfect-parrying this triggers a devastating counter-hit. Can be dodged as well.
- Backhand Blow: Swings his weapon backhanded. Parry or Dodge.
- Spin-to-Win: Spins three times at you, and then smashes the weapon downwards. Dodge or Parry.
- Sweeping Smash: Sweeps the weapon along the ground, and then does a powerful jumping smash. Parry or Dodge.
- Stomp the Yard: Stomps the ground, which can make shockwaves, and interrupt. Parry or Dodge.
- Poisonous Blade: Coats his weapon in a poisonous green mist, enhancing his damage. Parry or Dodge.

Phase 2 of the Lucky Seventeen fight in Where Winds Meet often begins with the giant throwing his sword at you, and then picking it up to continue using it. You can parry and dodge this attack without too much issue. He may choose to just run at you and use his Four-hit combo, as well.
The hardest part of this fight is that now, not only does he have a weapon, but he’s so much faster and more aggressive. Occasionally, he’ll coat his weapon in a green mist, and that makes him hit much harder. Anytime his weapon glows red, a perfect parry leads to a counterattack. If it glows gold, you have to dodge instead.

His Spin-to-Win attack, and Four-hit combo are especially dangerous, because it’s a series of attacks that have to be parried or dodged back-to-back. There’s no shame in playing on Story Difficulty, either.
Having that extra window for parrying is incredibly nice, given how hard this fight can be. You still want to be focused on parrying as much as possible, to drain his Qi meter, and get those big Executes. Just be patient, parry, and Lucky Seventeen will go down before you know it in Where Winds Meet.
Rewards (First Time)
- 50 Echo Jade
- 1x Medicinal Tales
- 30,000 Zhou Coins
- 1x Vile Leech Tome
- 5x Oscillating Jade
- 30,000 XP
Campaign Rewards
- 2x Jadeware Tiered Gear Chests
- 1x Palace of Annals Cosmetic Chest
- 1x Crimson Leaves Chest
- Oscillating Jade
- Zhou Coins
- XP
Check out our other Where Winds Meet guides and features
- 5 strongest Martial Arts to use in Where Winds Meet
- Best Where Winds Meet character customization codes
- How to fly in Where Winds Meet: All Lightness Skills unlock guide
- Best beginner’s tips and tricks for Where Winds Meet
Are you stuck on today's Wordle? Our Wordle Solver will help you find the answer.